Repairing the front of the frame – part 4
More pictures of the repairs done
to the front of my frame...
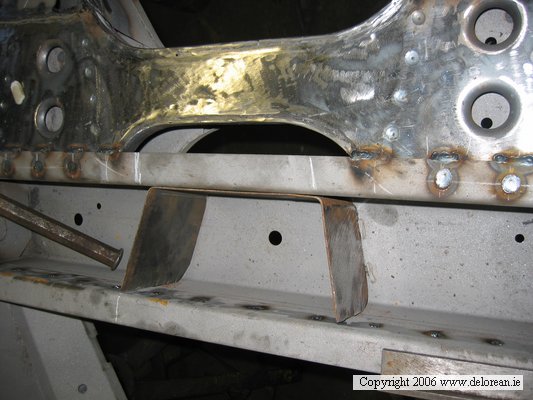
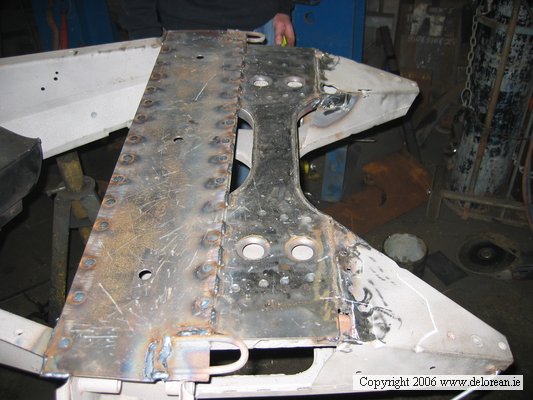
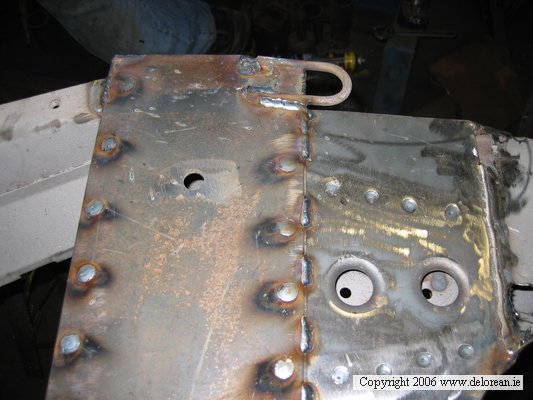
These show how the strengthening
piece on the inside of the front crossmember was made
exactly the same as original (except we made it from slightly thicker steel -
again making it stronger than original).
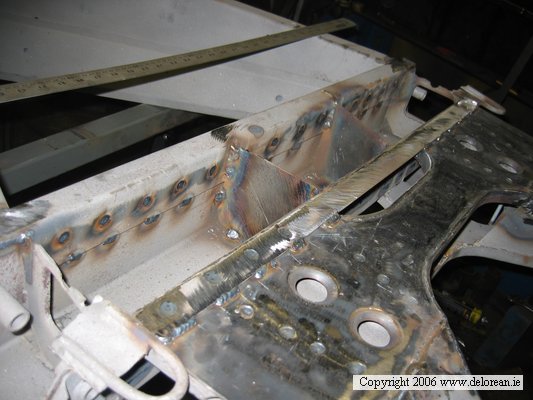
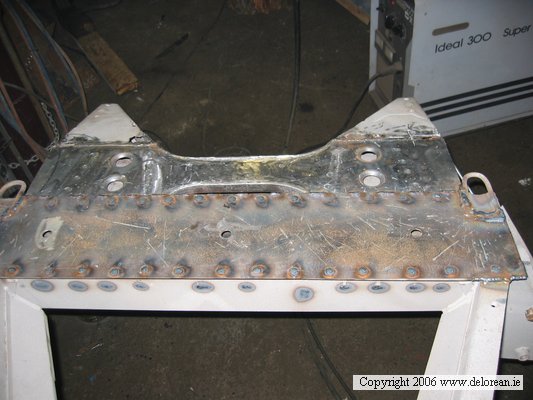
Then, the newly made closing
plate (thicker steel again) was welded over the bottom of the crossmember, to close off this area.
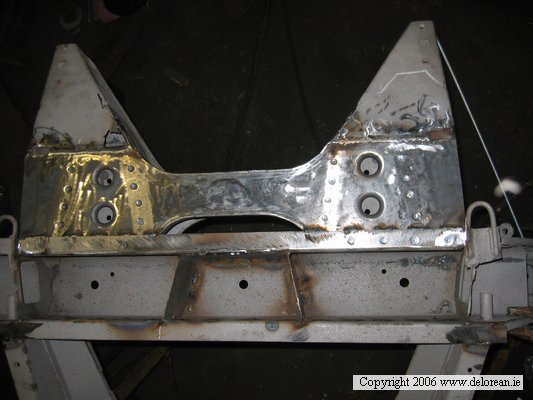
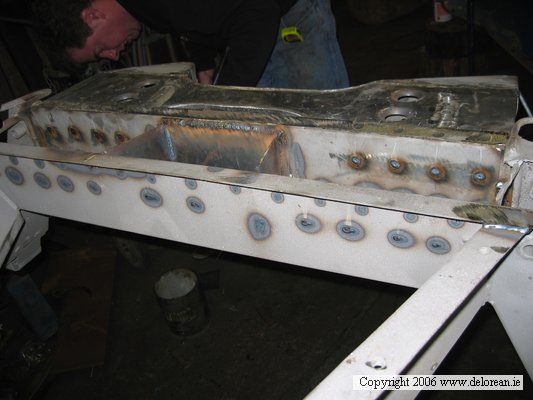
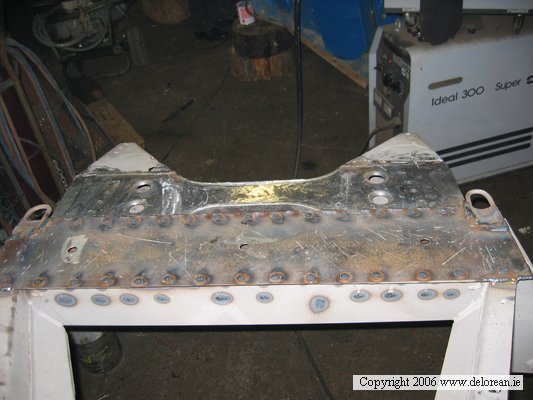
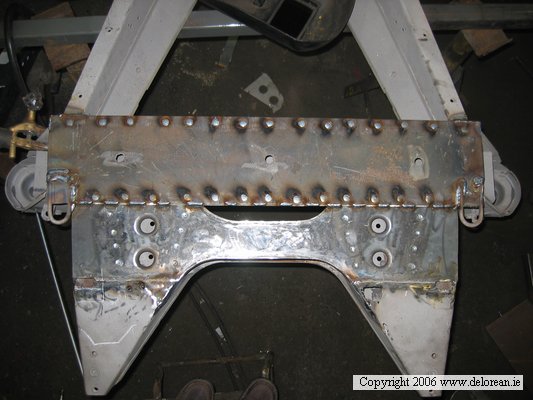
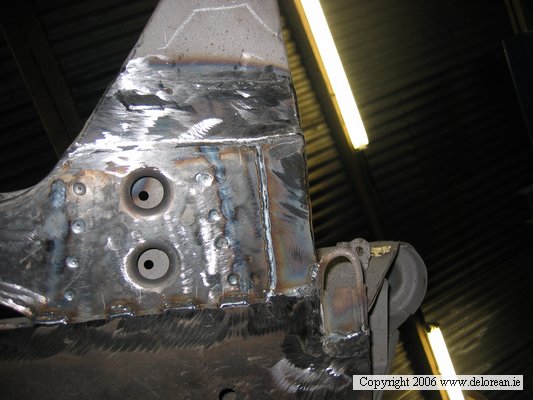
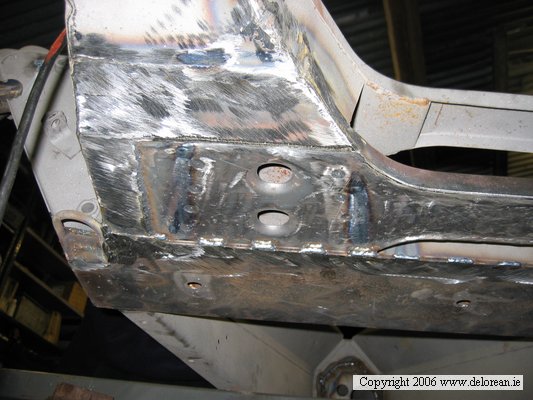
The last 2 pictures show the
finished front frame extension, after all remaining holes were repaired, and
the welds were ground smoother. I'm so happy with the repairs done here - the
frame is much stronger than new, but still looks very original!!